
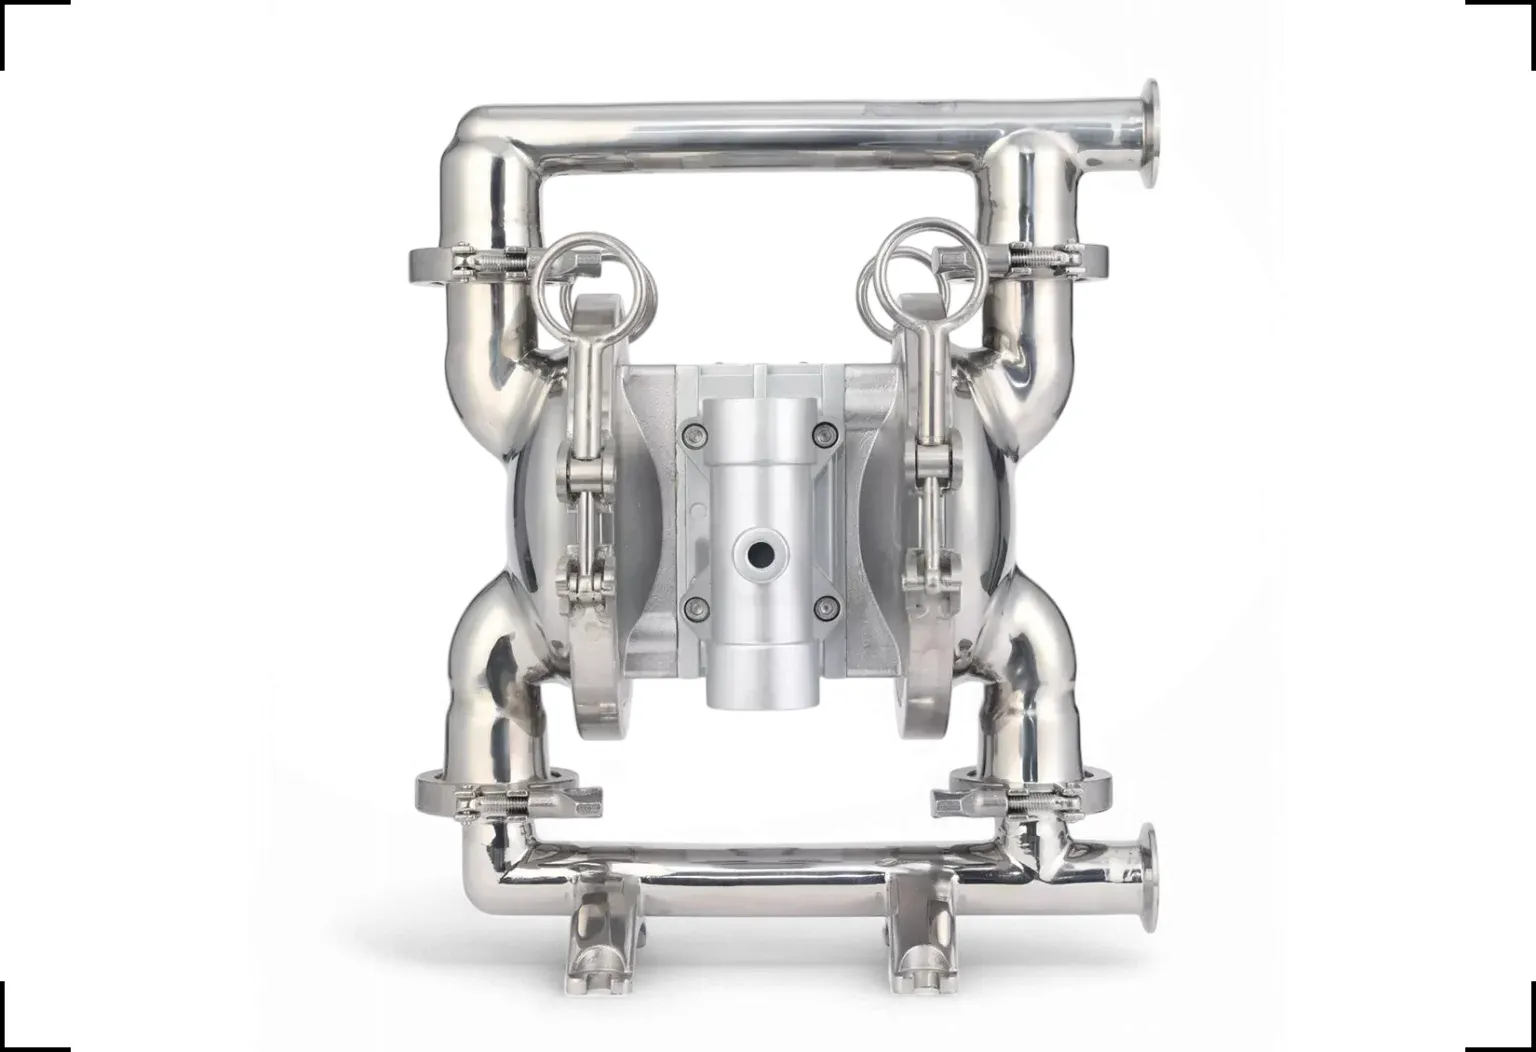
Introduction to air diaphragm pump troubleshooting
When problems arise with air diaphragm pumps, it can pay to know how to troubleshoot them. This guide introduces the basics of air diaphragm pump troubleshooting, detailing common problems, diagnostic techniques, and how to effect solutions step by step.
Common Issues and Symptoms
Air diaphragm pumps are reliable and so versatile. But like any mechanical device, they break down sometimes. Here are some typical troubles you might encounter:
- Pump will not start or stop: This could be caused by inadequate air supply, electrical problems or mechanical faults.
- Flow or pressure too low: Usually this comes from air leaks inside the system, diaphragms broken or blocked valve ports/pipes.
- Abnormal noise and vibration: Generally speaking, this indicates worn components or incorrect installation.
Step by Step Troubleshooting Process
- Check the air supply: Ensure that the pump is fed from a dry and clean air source. Also verify pressure inside your air supply lines: it should fall within operational range for a Piston Pump–generally less than 3 bar or psi.
- Inspect the pump: Trace any wear or damage–even slight may impair performance. Look especially at diaphragms, valves, and valve seats.
- Test the pump: Try running the air diaphragm pump and observing its performance. Listen for any strange noises and check output pressure as well as flow rates.
Diagnostic Tools and Methods
- Pressure gauges: These can be used to check air pressure at different points throughout the system. Follow leak or spot is found by a disclosing spray or sticker.
- Flowmeters: This device is helpful in determining if your pump is delivering correct flow rates.
- Stethoscope: This can be used to listen for internal noises which indicate wear or damage.
Preventive Maintenance Tips
Many of the most common problems with air diaphragm pumps can be avoided through basic upkeep. Here are some simple maintenance measures that should keep your pump running smoothly:
- Regular inspections: Regularly verify pump and its components for signs of injury or wear.
- Replace and clean outlet: The filters help supply clean air to the pump.
- Lubricate moving parts: Some to allow the parts of certain machine types functioning more secondarily.
Troubleshooting Tables
Table 1: Troubleshooting Common Problems
| Problem | Possible Cause | Solution |
|---|---|---|
| Pump not starting | Insufficient air pressure | Check air supply and connections |
| Low flow rate | Blocked inlet/outlet | Clean or replace filters |
| Excessive noise | Worn bearings or diaphragms | Replace worn parts |
Table 2: Maintenance Checklist
| Frequency | Task | Purpose |
|---|---|---|
| Monthly | Inspect diaphragms and valves | Prevent leaks and ensure seal |
| Quarterly | Change air filters | Maintain clean air supply |
| Yearly | Test overall pump performance | Ensure optimal operation |
Following these guidelines and using the tables provided, users can effectively troubleshoot and maintain an air diaphragm pump so that it lasts for many generations of use at its original level. Timely maintenance and repairing are of vital importance. That’s it. They’re absolutely necessary. It helps prevents future service downtime which A) it’s annoying B) re at leasts can be very expensive.
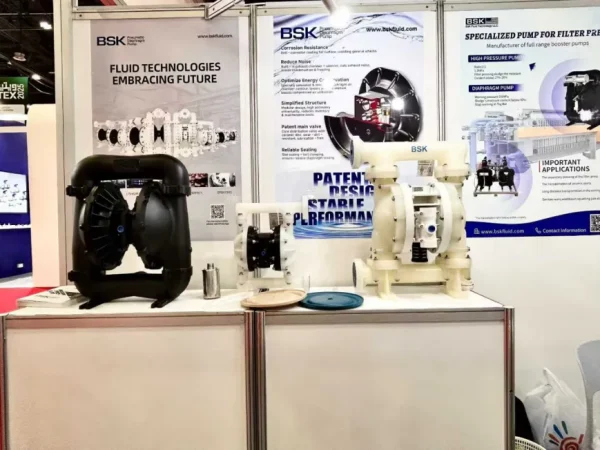
Understanding air operated diaphragm pump repair
When your air-operated diaphragm pump has problems, understanding how to repair it can not only save time but also money! This section will explain the basic steps of air-operated diaphragm pump repair, focusing on the contents and solutions of common issues.
Identifying Common Issues
The first step for your air-operated diaphragm pump to undergo repair is to identify what the problem is. Common problems often include:
- Leakage: Caused by worn or damaged diaphragms or seals.
- Poor performance: Often due to clogged inlet/outlet or air leakage.
- Excessive noise: Typically results from vibration or faulty components.
Step-by-Step Repair Guide
- Safety Tips: Always disconnect the power of the pump before you begin any repair work.
- Dismantling:
- Take the pump from its installment.
- Carefully disassemble the pump, paying attention to the position of each component.
- Inspection and Cleaning:
- Check each component for wear or damage.
- Clean all parts thoroughly to free them of debris and accumulation.
- Replacement of Faulty Parts:
- Replace parts like diaphragms, valves and seals that are wearing out or showing damage.
- Reassembly and Testing:
- Reassemble the pump carefully, making sure all parts are properly lined up.
- Reconnect the pump and test it to make sure it functions properly.
Troubleshooting Tips
- Air Leakage: Inspect all connections, and replace any sealed parts which are causing leakage.
- Clogging: Regularly clean the inlet and outlet to avoid jamming due to buildups.
- Diaphragm Wear: Tubes should be replaced at intervals so there is no leakage and performance remains at a high level.
Maintenance Schedule
Adhering to a regular maintenance schedule will save you frequent repairs:
- Daily: Look for any leaks and strange sounds.
- Monthly: Inspect and clean the diaphragm and valves.
- Annually: Replace worn parts and thoroughly inspect and clean the entire pump.
Tools and Materials Needed
- Basic Toolkit: Including screwdrivers, spanners and pliers.
- Replacement Parts: Diaphragms, seals and valves for your particular pump model.
- Cleaning Supplies: Brushes and the appropriate cleaning agents. With these guidelines, you can ensure your air operated diaphragm pump stays in top shape. Maintenance of this kind reduces period of inactivity caused by repairs and saves on costly repair bills. Remember, regular maintenance of your pump is key to longevity and consistent air and roi.
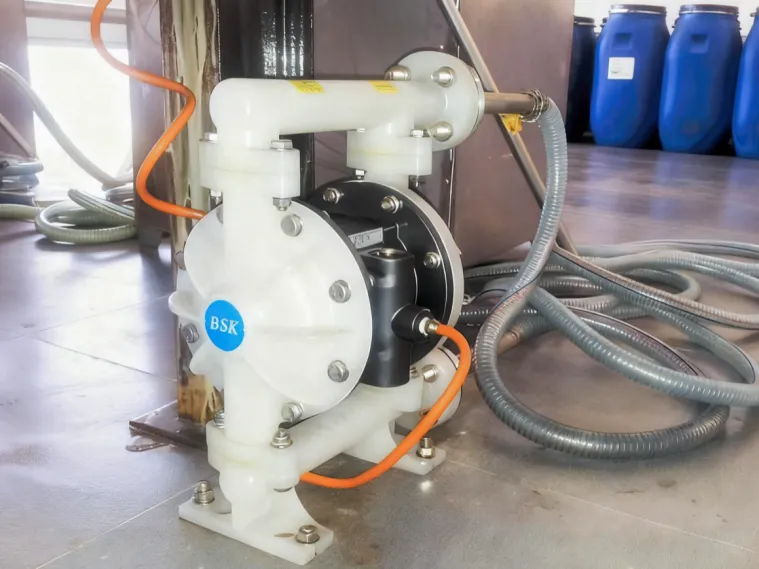
Diaphragm pump air consumption and How to Solve Problems of This Kind
When it comes to diaphragm pumps, to master air consumption and its accompanying issues is fundamental for diligent operation as well as maintenance. In this section we will troubleshoot some common problems which can lead to excessive air in diaphragm pumps and provide answers that you can use right away!
Identifying Excessive Air Consumption
Excessive air consumption in diaphragm pumps may lay undiscovered until it leads to high operational costs or reduced performance. To determine if your pump is consuming more air than necessary, monitor the air usage over time and compare it with manufacturer specifications. If you discover a significant increase, there are also steps that should be taken still further.
Signs of High Air Consumption:
- Higher operation costs
- Performance lower than planned
- Frequent stops due to air pressure being too low
Common Causes and Solutions
It is easy to blame excessive air consumption in diaphragm pumps on mechanical failure, but there are a number of factors that can contribute. Here some common causes are listed along with their solutions:
- Leakages in the Air System:
- Solution: Regularly check for leaks in the air lines, fittings, and valves; have any found repaired promptly. Use soapy water to detect leaks.
- Worn or Damaged Diaphragms:
- Solution: Inspect diaphragms for wear or damage during routine maintenance. If necessary, replace them to ensure the best possible performance and use of air.
- Incorrect Pump Sizing:
- Solution: Check that the pump size matches the needs of its application. An over-sized pump will consume more air than needed for any given process.
- Poorly Optimized Air Pressure Settings:
- Solution: Set air pressure according to the pump’s specifications and the process specifications. Keep settings consistent with a pressure regulator.
Practical Steps to Reduce Air Consumption
To reduce air consumption effectively in a diaphragm pump you should follow these practical measures:
Step 1: Regularly inspect your device in search of leaks and wear. Such checks can help to identify problems at an early stage, making them much easier to fix.
Step 2: The pressure settings for the air need to be adjusted to suit whatever application you have in mind. The machines are designed so as not only run more efficiently, but also more precisely and productively.
Step 3: Upgrading to a more efficient type of pump could save you significant money on compressed air costs for the sustained high consumption model.
Air Diaphragm Pump Troubleshooting Tools and Resources for
To troubleshoot air diaphragms properly, consider the following tools and resources:
- Air Flow Meters: These devices allow you to accurately monitor air consumption and locate areas of inefficiency.
- Maintenance Manuals: Always consult the manufacturer’s manual for specific troubleshooting and maintenance schedules. Understanding and solving the common issues related to diaphragm pumps air consumption, will improve operational efficiency and unnecessary cost. Daily maintenance Regular settings are key to a reasonable control over air consumption.
Step-by-Step Maintenance Guide for Pneumatic Diaphragm Pumps
Every two or three months, follow the –schedule– recommended above to perform this maintenance step by step on your pump:
1) Wash and Replace Diaphragms
2) Clean & Change Filter Elements
Should the compressed air be unbearably loud from time to time, what basic (but effective!) checks may I try? Here are few of these methods that may help put an end to the noise):
Routine Inspection and Cleaning
- Visual Inspection: Begin by visually inspecting the pump for wear or damage. Check for cracks, leaks, or any other kind of visible damage on body of the pump and in the diaphragms.
- Clean body interior: Using a soft cloth and mild detergent, wipe the external surfaces of the pump. This will prevent the entry of any residues into it.
Diaphragm Pump Inspection And Replacement
- Take apart your pump at the diaphragms. Read the manufacturer’s manual specific instructions important to avoid damage and frustration!
- Inspection: Diaphragms should be checked for any signs of wear, tear, or fatigue. Signs to look out for include: brittleness cracks and so on.
- Replacement: If the diaphragms are in any way deteriorated, replace them with new ones. It is important to check that the replacements are compatible with your pump model.
Valve Maintenance
- Get in Valves: Remove the valve covers and you can find valve inlets outlet.
- Cleaning: The valves should be thoroughly cleaned in case anything is stuck to them that might harm their performance.
- Checking and Replacing Valves: Valves are inspected for wear or damage. Any parts that are not working properly need to be replaced.
Air Supply System Check
- Air Filter: Periodic examination and replacement of air filters ensures a clean air supply to your pump, conversely reducing diaphragm pump air consumption .
- Hoses and Connections: Inspect all hoses and fittings for leaks or wear. Tighten or replace fittings as needed to keep the air secure and efficient.
Lubrication
- Lubricate Moving Parts: Apply appropriate lubricants to the moving parts of the pump in accordance with the manufacturer’s recommendations. This reduces friction and wear, prolongs the life of your pumps.
Performance Testing
- Operational Test: After routine maintenance, the pump should be reassembled and tried out. You should check for ease of operation and listen carefully in case there is any unusual noise which might indicate an unseen problem.
Troubleshooting Common Issues
- Loss of Pressure: Find leaks or a diaphragm that has worn out, causing this problem.
- Pump Not Priming: Ensure that there is sufficient air supply, and check if something is blocking the suction line.
- Excessive Noise: This might indicate cavitation, so check properly designed inlet conditions are in place and make sure that the pump isn’t running dry.
By following this step-by-step maintenance guide, you will be able to effectively manage your pneumatic diaphragm pump. Regular maintenance not only helps in air operated diaphragm pump repair but also optimizes the air consumption and overall performance of the pump.
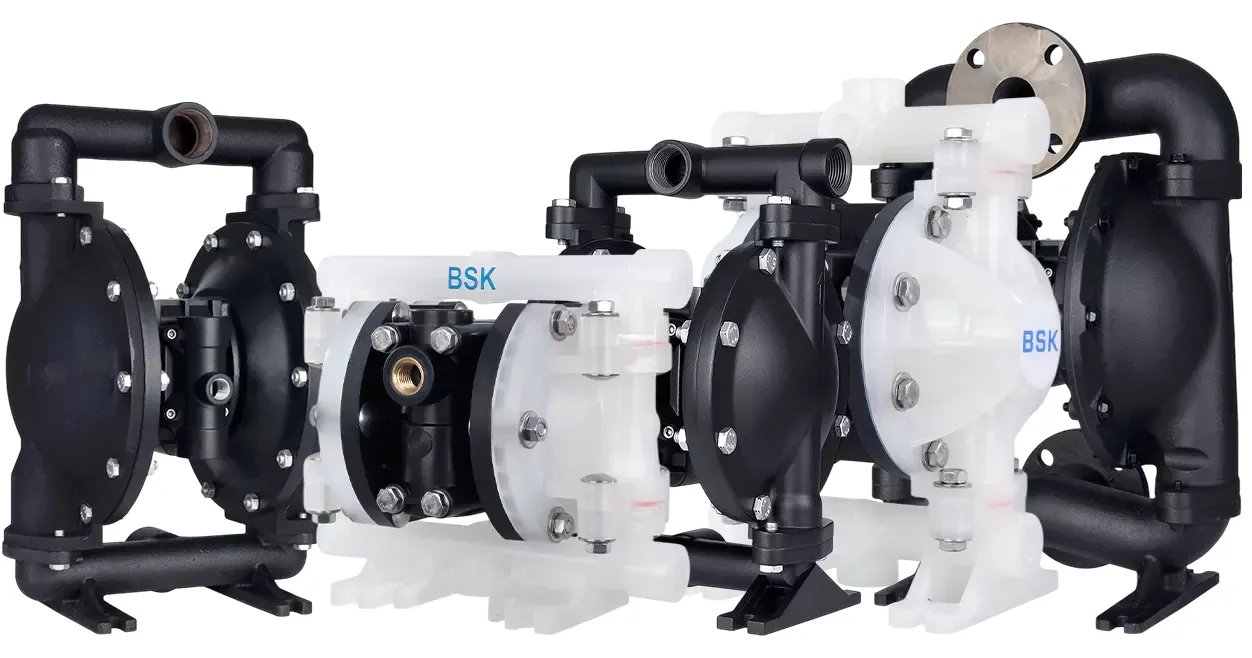
Frequently Asked Questions on Diaphragm Pump Maintenance
When you are working on the maintenance of air operated diaphragm pumps, there are a number of common issues which can affect their operation and service life. This section gives the low-down on all the frequently asked questions about diaphragm pump maintenance, providing practical advice and insights that will help everyone’s pump run efficiently.
What should I watch out for to tell whether my diaphragm pump needs servicing?
You should look for several signs that indicate your diaphragm pump is in need of attention:
- A decrease in performance or flow rate.
- Strange sounds or vibrations when the machine is operating.
- An increase in your air consumption.
- Leakage of liquid or gas with no apparent reason.
If you regularly keep an eye on those signs, you can help continue to keep the system running at its best and avoid any long-term damage.
How often should you carry out routine maintenance on your diaphragm pump?
The frequency of routine maintenance is determined by both the intensity of the usage of the pump, and the nature of fluids it handles. Here’s a rough rule of thumb to help you plan:
| Intensity of Usage | Recommended Frequency of Maintenance |
|---|---|
| High | Every 3 months |
| Medium | Every six months |
| Low | Annually |
If these periods can be adhered to, it will help in the early detection of potential problems. This in turn means that extensive air operated diaphragm pump repair becomes less necessary.
What are the key steps involved in maintaining a diaphragm pump?
There are several key stages to the maintenance of your diaphragm pump, if you want to maintain its longevity and its effectiveness:
- Inspection and Cleaning: Regularly inspect and clean the pump components, especially the diaphragm and valves, to prevent blockages and wear.
- Replace Diaphragm: Replace the diaphragm periodically to avoid failures due to wear and tear.
- Lubrication: Apply the right lubricants to moving parts in order to reduce friction and avoid against corrosion.
- Air/Fuel Leak Checking: Regularly check for leaks in both the air system and fluid handling parts.
Can improper air supply affect diaphragm pump performance?
Yes, improper air supply can greatly affect the performance of your diaphragm pump. Issues such as insufficient air pressure or excessive consumption of diaphragm pump air will lead to inefficient operation methods and increased wear. Make sure your air supply matches the recommendations for your pump.
Troubleshooting Common Problems
Here are a few quick pointers about the Troubleshooting any issues in your air diaphragm pump operation:
- Low Flow Rate: Look for a clogged inlet/outlet or damaged diaphragm.
- Excessive Noise: Check for loose parts or inadequate mounting.
- High Air Consumption: Ensure there are no leaks and that the pump has been properly selected for your operation.
In keeping with these answers to most frequent inquiries,…attend regularly to your diaphragm pump. This will allow it to operate more effectively and increase its useful lifetime, ensuring that your organization runs smoothly and efficiently.
Conclusion
- Regular maintenance is essential to maintaining the top performance and longevity of pneumatic diaphragm pumps.
- Troubleshooting correctly can quickly spot and deal with problems, avoiding that revolting downtime and money-devouring repairs. Breathing airs is the first necessary step to prevent inefficiency and guarantee energy saving.
- Train your personnel on both diagnosing techniques maintenance methods best for the pump to make the most of everyone’s skills involved with its operation.
- Purchasing high-quality repair parts and components can significantly extend the life of air-operated diaphragm pumps.
The above is all the troubleshooting and maintenance for pneumatic diaphragm pumps. This is just the beginning under these conditions. Now to keep your pumps designed for long life and high efficiency all the time.
Explore BSK Pneumatic Diaphragm Pumps
Looking for the right AODD pump for your application? BSK Fluid Technology offers a complete range of pneumatic diaphragm pumps in aluminum, stainless steel, cast iron, PP, and PVDF. With 30+ years of manufacturing expertise and patented ceramic air valve technology, we deliver reliable fluid transfer solutions worldwide.
Frequently Asked Questions
How much compressed air does an AODD pump consume?
Air consumption at 4 bar: 1/2" pump 0.3-0.5 m³/min, 1" pump 0.8-1.2 m³/min, 2" pump 2.5-4.0 m³/min, 3" pump 4.5-7.0 m³/min. The BSK ceramic air valve saves up to 30% air versus conventional metal valves.
Why is my diaphragm pump losing pressure or flow?
Common causes: worn valve balls/seats (replace valve kit), blocked suction strainer (clean), insufficient air supply (check compressor), worn diaphragms (replace set), sticking air valve (clean/replace), or blocked muffler. Confirm discharge pressure has not risen to equal air supply pressure.
How long do AODD pump diaphragms last?
Diaphragm life: Santoprene 3-20 million cycles, PTFE 2-12 million, Viton 3-15 million (depending on duty). Life is reduced by high pressure, high temperature, abrasive particles, cavitation and rapid cycling. Replace diaphragms in pairs and keep spare kits on hand.
How does fluid viscosity affect AODD pump performance?
Higher viscosity reduces flow rate and increases air consumption. 0-500 cP: minimal reduction. 500-2000 cP: 10-20% reduction. 2000-5000 cP: 30-50% reduction (size up one port). 5000-10000 cP: significant reduction, use the largest practical pump. For viscous fluids use short, wide suction pipes.
Where can I get a quote for the right AODD pump for my application?
BSK Fluid Technology engineers provide a personalized pump selection within 24 hours. Share your fluid properties, flow rate and pressure requirements via the Contact page or WhatsApp +86-134-3105-8937, and we will recommend the optimal model from our aluminum, stainless steel, cast iron, PP and PVDF AODD range.


